Just like humans need appropriate lighting for reading and working, plants also require adequate light to thrive. If the plant light is hung improperly, plants may suffer from uneven or insufficient lighting, resulting in poor growth or imbalanced development of branches and leaves.
Whether setting up LED grow lights at home or in a greenhouse, finding the right position and height for hanging is crucial. It’s akin to a director carefully orchestrating stage lighting to ensure each actor (plant) benefits from the spotlight.
Whether it’s the first emergence of seedlings, the lush growth of mature plants, or the crucial moment of flowering and fruiting, all stages require precisely tuned lighting to thrive.
Therefore, hanging indoor grow lights is not a matter of casual placement; it directly affects whether our plant friends can grow happily and thrive at home or in the greenhouse without worries.
Planning the hanging position and height of LED grow lights is a precise task that affects the healthy growth of plants and the efficient utilization of photosynthesis.
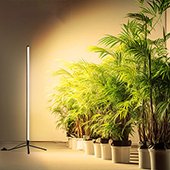
Ferns
These shade-loving plants benefit from soft, diffused light from above or the sides to avoid leaf burn from direct sunlight. The hanging position can be set approximately 1.5 to 2 meters above the plant, taking into account the distribution of other light sources in the room.
Succulents
They require ample direct sunlight, so LED lights should be directly suspended above the plants, at a distance of about 30 to 50 centimeters. Foliage plants (such as Devil’s Ivy, and Spider Plant): These plants adapt to lower light conditions, but to maintain their vibrant colors and healthy growth, LED lights should be hung approximately 40 to 60 centimeters from the top of the leaves.
Vegetable
When grown indoors, LED lights should be adjusted according to the height of the plants. Initially, they should be placed about 30 to 40 centimeters from the top of the plants, gradually increasing to 60 to 80 centimeters as the plants grow.
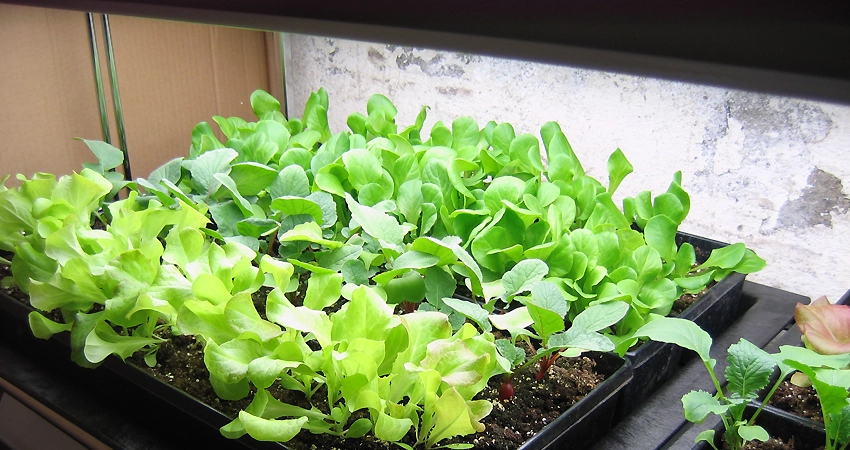
Lettuce
Germination Stage: The distance between the light fixture and the seedbed should be about 80 to 100 centimeters. At this stage, seedlings don’t need intense light, so avoid strong light to prevent stress.
Growth Stage: When lettuce starts growing leaves rapidly, lower the light fixture to 40 to 50 centimeters to ensure sufficient light for photosynthesis and nutrient accumulation in the leaves.
Flowering Stage: Lettuce is primarily grown for its leaves and typically doesn’t need to reach the flowering stage for consumption. However, if you want to observe flowering for research or breeding purposes, keep the light fixture at the same height as during the growth stage.
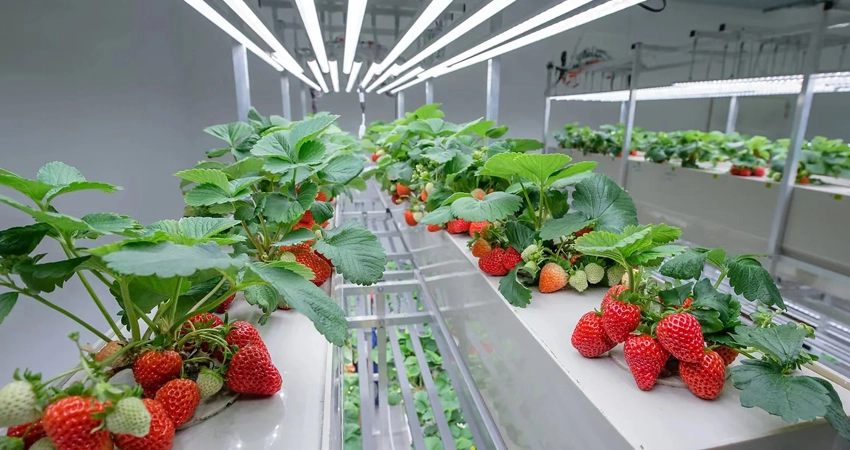
Strawberries
Germination Stage: When the seeds begin to sprout, LED lights should be about 80 centimeters away from the cultivation dish to create a moderate lighting environment.
Growth Stage: As strawberry seedlings grow vigorously, adjust the lights to about 30 to 40 centimeters to enhance lighting for lush foliage and the development of runners.
Flowering and Fruiting Stage: Keep the indoor grow lights at around 30 to 50 centimeters to ensure that the flowers and fruits receive sufficient light for increased sugar accumulation and vibrant coloration.
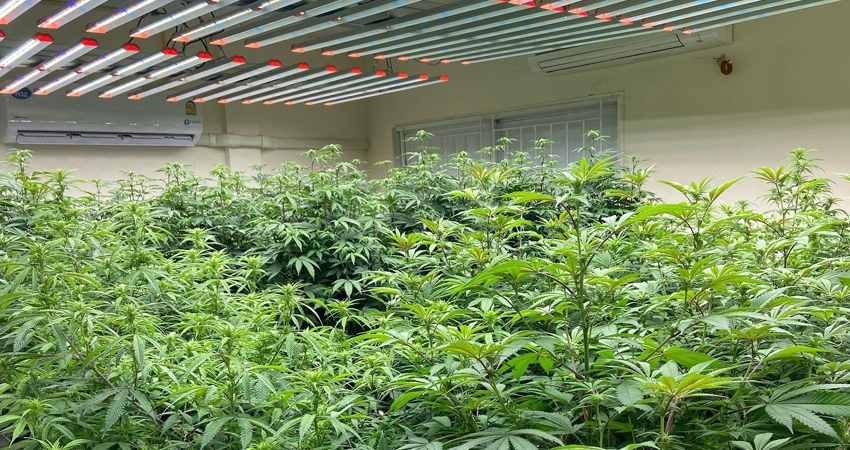
Cannabis (Industrial Hemp or Medical Cannabis)
Germination Stage: Since cannabis seeds are small and have relatively low light requirements during the early stages of germination, lights can be placed about 100 to 120 centimeters away from the seed containers. This maintains moderate lighting to promote germination without overheating the soil or damaging the tender sprouts.
Growth Stage: During the rapid growth phase of cannabis plants, lights should be appropriately lowered to a height of 40 to 60 centimeters to ensure all parts of the plants receive sufficient light to support strong stems and lush foliage.
Flowering Stage: To induce and maintain the accumulation of effective components in cannabis, the distance of the cannabis grow lights should be adjusted to about 60 to 80 centimeters. This provides sufficient light cycle stimulation, combined with the appropriate ratio of red and blue light to optimize flower formation and resin production.
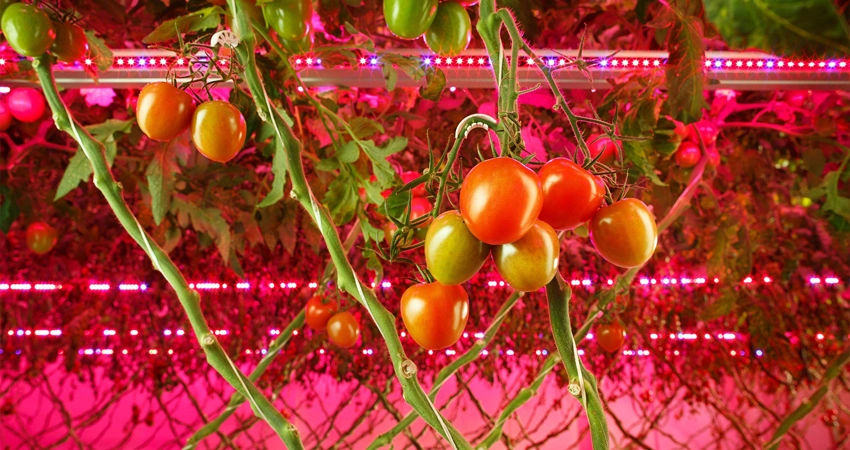
Tomato
Germination Stage: When tomato seeds germinate, the lights should be about 80 to 100 centimeters away from the seedling tray to avoid excessive light hindering normal seedling growth.
Growth Stage: As tomato plants grow taller, the lights can be lowered to around 20 to 30 centimeters, especially for vine-type tomatoes. Ensure that the middle and lower leaves of the plants receive sufficient light to promote overall healthy growth and nutrient accumulation.
Flowering and Fruiting Stage: The distance of the lights can be maintained at 30 to 40 centimeters. Increasing light intensity helps improve fruit set rate and fruit quality. Additionally, increasing the proportion of red light appropriately can accelerate fruit ripening and enhance flavor.
To help everyone better understand and master the process of hanging LED plant lights, we will explain in detail the preparation of installation tools and materials, as well as the construction process of the hanging system step by step.
The detailed steps will be presented in text form, while also recommending watching the accompanying video tutorial for a more intuitive understanding of the operational details.
LED Plant Light: Ensure you have purchased a high-quality LED plant light suitable for your indoor gardening needs.
Hanging Components: Including but not limited to hooks, chains, telescopic rods, or specialized hanging brackets, used to securely fasten the light fixture to the ceiling or support structure.
Power Cord and Plug: Ensure the power cord attached to the light fixture is of sufficient length. If not, additional extension cords may be required, and ensure all wires have insulation protection.
Tools such as screwdrivers, wrenches, etc.: Used for installing hooks, securing fixtures, and other components.
Level: Used to ensure the light fixture is hung level after installation, to achieve more uniform lighting.
Step 1: Identify and Mark the Hanging Points for the Fixtures
Consider plant types, growth stages, and room layout to observe your growing area. Choose the optimal hanging positions for the LED plant lights to maximize light utilization and even distribution.
Use a pencil or sticky notes to mark the hanging points on the ceiling or wall. When hanging multiple fixtures, ensure they are spaced reasonably to cover the entire growing area effectively.
Step 2: Install the Fixtures
Using a screwdriver or drill according to the fixture’s instructions, securely attach hooks, hangers, or mounting brackets to the designated hanging points.
For grow tents or frames, choose specialized hanging accessories based on their structural characteristics to ensure stability after installing the lights.
Step 3: Connect and Adjust the Light Height
Connect the LED plant lights to the installed fixtures using chains or telescopic rods, ensuring the lights can move up and down freely for easy height adjustments based on plant growth.
Refer to the ideal distances between plant growth stages and light fixtures mentioned earlier and preset the initial hanging height of the lights.
Step 4: Test Stability and Safety
Gently shake the fixtures to check for stability and ensure there is no wobbling. Check the routing of the power cords to avoid contact with sharp objects or water sources, ensuring electrical safety.
Turn on the LED plant lights to confirm they illuminate properly without flickering or areas of dimness.
During the installation and use of LED plant lights, several important aspects need special attention to ensure safe and efficient operation, and to avoid potential issues.
>> Fixture Weight
Issue Alert: The weight of LED plant lights is significant, especially for large or heavy fixtures. Improper handling may lead to fixture mounting failures, potentially causing the lights to fall.
Solution:
>> Power Cord Management
Issue Alert: Exposed, dragged, stepped on, or water-exposed power cords can pose safety hazards such as electric shock, short circuits, or fires.
Solution:
>> Heat Dissipation and Ventilation
Issue Alert: LED plant lights generate heat during prolonged operation. Poor heat dissipation not only affects the lifespan of the fixtures but may also lead to excessively high temperatures in the growing environment, detrimental to plant growth.
Solution:
From custom light planning, to tailored quotes, and everything in between, our team of horticulture experts are always ready to assist.
We are a professional LED plant light manufacturer, committed to using technology to enhance the maximum potential of the lamp, continuously maximizing the benefits for growers, and saving energy for the planet.